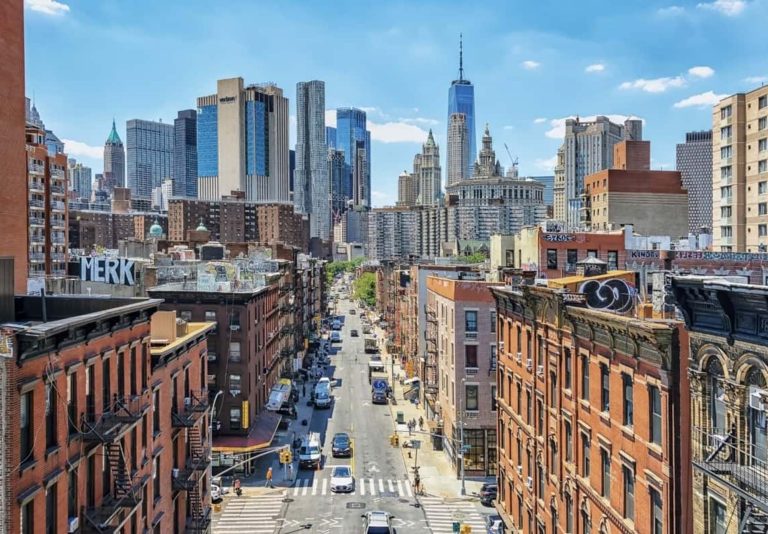
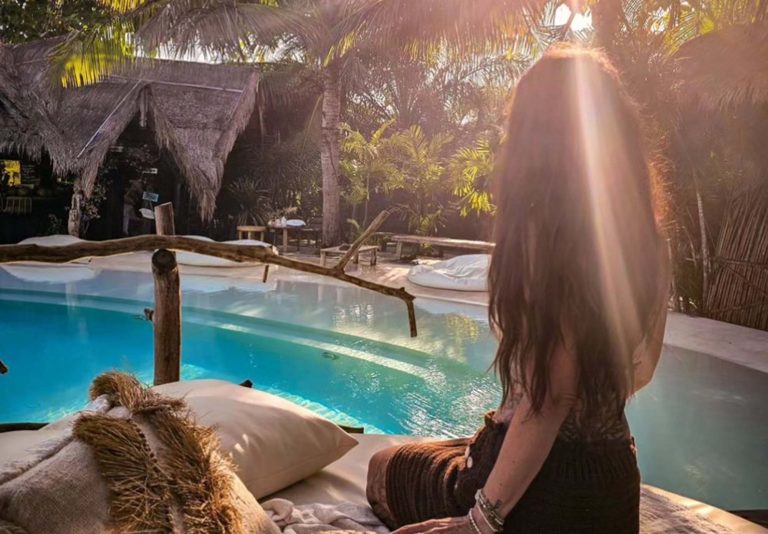
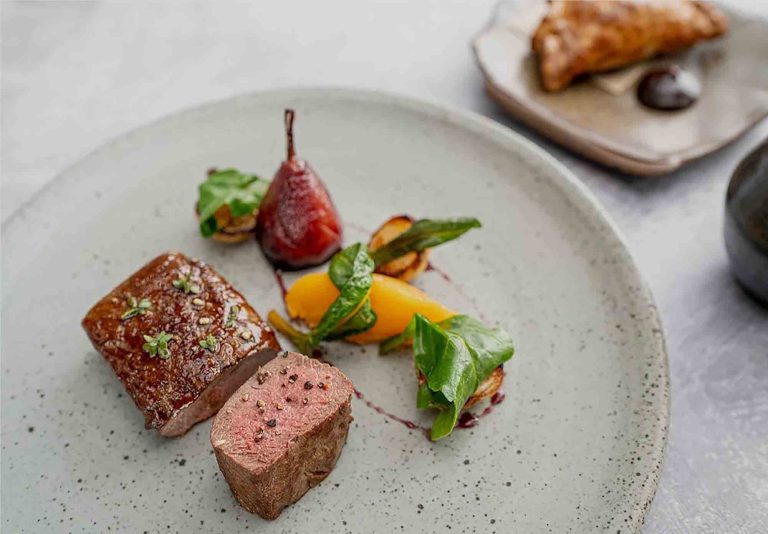
Capturing the essence of these adventures through stunning imagery has become an essential part of my storytelling. For me, the pursuit of the perfect shot often relies on the incredible power of my smartphone—it’s my lens to encapsulate the world’s wonders.
Here’s a comprehensive guide I’ve tailored, not just for myself, but for anyone eager to elevate their smartphone travel photography:
Equip Yourself with Essential Smartphone Photography Gear
Investing in supplementary gear such as clip-on lenses, mini tripods, or portable LED lights has been a game-changer for me when it comes to enhancing my smartphone’s photography capabilities. These accessories serve as catalysts for creativity and substantially elevate the overall image quality for several reasons.
Clip-on lenses, for instance, expand the range of possibilities for capturing different perspectives. Wide-angle lenses enable me to encompass more expansive landscapes or group shots, while macro lenses unveil intricate details of subjects, enhancing the overall depth and variety in my photography. These lenses augment my smartphone’s inherent capabilities, allowing me to experiment and create diverse compositions that were previously beyond reach.
Mini tripods are another indispensable tool in my photography kit. They provide stability and eliminate the shakiness often associated with handheld shots. This stability is crucial, especially in low-light conditions or when shooting long-exposure images, as it significantly reduces blurriness and enhances overall sharpness. Furthermore, mini tripods offer versatility in framing shots, enabling me to explore different angles and heights, resulting in more dynamic and visually engaging photographs.
Portable LED lights have proven instrumental in overcoming challenging lighting situations. They serve as supplementary light sources, especially in low-light environments or when natural lighting isn’t optimal. These lights allow for greater control over the illumination of subjects, effectively reducing shadows and highlighting specific elements within the frame. By adjusting the intensity and direction of the LED lights, I can create desired moods and atmospheres, adding depth and vibrancy to my photographs.

In essence, these additional accessories serve as invaluable tools that complement my smartphone’s camera capabilities. They empower me to explore new creative avenues, overcome technical limitations, and ultimately, significantly enhance the quality and diversity of the images I capture during my travels.
Utilize Grid Lines for Composition
The grid lines on my smartphone camera have evolved into an indispensable tool, revolutionizing the way I compose my photographs. Their adherence to the rule of thirds is a fundamental aspect that has greatly enhanced the effectiveness of framing subjects and landscapes within the frame.
The rule of thirds is a foundational principle in photography composition. By dividing the image into a grid of nine equal sections—two equally spaced horizontal and vertical lines—the grid lines assist in placing key elements along these lines or at their intersections. This deliberate placement creates a more balanced and visually appealing composition.
These grid lines serve as visual guidelines, allowing me to align important elements, such as the horizon, focal points, or subjects, with precision. Placing subjects along these intersecting points or along the lines themselves helps in creating a sense of balance, drawing the viewer’s attention to specific areas of interest within the photograph.

Moreover, the grid lines assist in achieving a harmonious composition, preventing the placement of subjects dead center, which might result in static or less engaging images. Instead, they encourage me to explore more dynamic compositions, incorporating negative space and leading lines to create depth and visual interest.
Additionally, these grid lines aid in maintaining a level horizon, especially when capturing landscapes or seascapes. Aligning the horizon with either the upper or lower horizontal grid line ensures a more aesthetically pleasing and balanced image.
Overall, the grid lines on my smartphone camera act as a fundamental guide, enabling me to compose photographs with a heightened level of precision and artistic vision. They facilitate the creation of well-balanced, visually appealing images by adhering to the principles of composition, ultimately elevating the quality and impact of my photography.
Leverage Lightroom Mobile for Editing
Editing photos on-the-go has transformed the way I approach photography. Lightroom Mobile, an incredibly robust editing tool, has emerged as a pivotal game-changer, offering me the capability to fine-tune and elevate the quality of my photos right from my smartphone. The convenience and efficiency it provides in adjusting exposure, color balance, and implementing selective edits have significantly streamlined my editing process.
The portability of Lightroom Mobile has been a revelation. It grants me the flexibility to edit images wherever I am, eliminating the need to carry a laptop or dedicated editing equipment. Whether I’m exploring a new destination, on a commute, or simply relaxing, I can instantly access and enhance my photos, maximizing my productivity and creative output.
The tool’s user-friendly interface simplifies the editing workflow. Adjusting exposure levels allows me to correct underexposed or overexposed areas in my photos, ensuring optimal brightness and detail. Manipulating color balance enables me to fine-tune hues, saturations, and tones, resulting in more vibrant and true-to-life colors that accurately represent the scenes I’ve captured.
One of the most significant advantages of Lightroom Mobile is its capability for selective edits. This feature empowers me to precisely target specific areas or elements within a photo for adjustments. Whether it’s enhancing details in a particular section, adjusting contrast in isolated areas, or applying localized color enhancements, these selective edits add depth and refinement to my images, all accomplished with ease directly from my smartphone.
Furthermore, the seamless integration of Lightroom Mobile with the rest of Adobe’s ecosystem, such as the desktop version of Lightroom or Adobe Creative Cloud, ensures a consistent editing experience across different devices. This synchronization enables me to start editing on my smartphone and seamlessly continue or fine-tune the edits on my computer, ensuring a cohesive and efficient workflow.
In essence, Lightroom Mobile has become an indispensable companion in my photographic journey. Its accessibility, powerful editing capabilities, and seamless integration have revolutionized the way I edit and enhance my photos on-the-go, allowing me to create captivating and visually striking images directly from my smartphone.
Avoiding digital zoom has been a crucial lesson in maintaining image quality during my photographic journey. I’ve discovered that relying on digital zoom tends to degrade the clarity and sharpness of the image, often resulting in pixelation and loss of detail. Instead, employing alternative methods like physically moving closer to the subject or utilizing cropping techniques during the editing phase preserves the image’s integrity and sharpness.
Digital zoom works by enlarging the existing pixels in the image, which leads to a loss in quality as the software interpolates and stretches the pixels to create the illusion of zoom. This process sacrifices the finer details and often results in a grainy or pixelated image, diminishing the overall visual impact.
By refraining from digital zoom and opting for physical movement or cropping, I maintain the original quality of the image. Physically moving closer to the subject allows me to capture a closer perspective without compromising quality, while cropping during editing enables me to focus on specific elements or compositions without sacrificing sharpness or resolution.
Moreover, embracing self-shooting techniques has opened up a whole new realm of possibilities in my photography. Using features like a timer or remote shutter release has empowered me to capture self-portraits or include myself in the frame amid stunning landscapes or iconic landmarks. This not only documents my presence in those memorable moments but also adds a personal touch to my photography.
Self-shooting techniques offer creative freedom and control over composition and storytelling. They allow me to convey emotions, experiences, and connections within the frame, enriching the narrative of my travels. Additionally, capturing myself within the scenery adds a sense of scale and perspective, enhancing the overall visual impact of the image.
In essence, avoiding digital zoom and embracing self-shooting techniques have become integral aspects of my photography approach. These practices not only preserve image quality but also offer creative possibilities for self-expression and storytelling, ensuring that personal moments are beautifully captured and shared in my photographic journey.

Explore Manual Mode for Control
Exploring the manual mode of smartphone cameras has been an enlightening experience that has significantly elevated my photography. By assuming control over settings such as exposure, ISO, and shutter speed, I’ve gained the ability to adjust and fine-tune these parameters to suit diverse lighting conditions, resulting in more nuanced and personalized shots.
The manual mode of smartphone cameras grants a level of control and flexibility akin to professional-grade cameras. Adjusting exposure allows me to regulate the amount of light entering the lens, enabling me to capture well-balanced images even in challenging lighting situations. Whether it’s bright, sunlit landscapes or dimly lit interiors, having control over exposure ensures that I can maintain proper brightness levels while preserving details in both highlights and shadows.
Managing ISO settings has been particularly beneficial in various lighting environments. Being able to adjust the ISO sensitivity enables me to control the camera’s response to light. In low-light situations, increasing the ISO helps in capturing brighter images without introducing excessive noise, while in well-lit scenarios, keeping a lower ISO minimizes noise and retains image clarity.
Additionally, manipulating the shutter speed in manual mode has been instrumental in capturing different motion effects. Adjusting the shutter speed allows me to freeze fast-moving subjects or create intentional motion blur, adding a dynamic element to my photographs. This control over shutter speed empowers me to express creativity and capture the desired mood or atmosphere in my shots.
Moreover, delving into manual mode has enhanced my understanding of photography fundamentals. It has encouraged me to experiment with different combinations of settings, fostering a deeper appreciation for the technical aspects of photography. This hands-on approach has expanded my creative horizons, enabling me to tailor each shot according to my artistic vision.
Ultimately, mastering the manual mode of smartphone cameras has been a transformative journey. It has provided me with the tools to adapt and fine-tune my photography skills according to varying lighting conditions, resulting in more refined, personalized, and evocative photographs that encapsulate the essence of my travels.
For me, mastering these techniques has unlocked a world of possibilities in translating my adventures into captivating visual narratives. Whether it’s capturing the sun-kissed cliffs of Santorini or the bustling streets of Tokyo, harnessing the potential of smartphone photography has transformed every moment into a work of art, enriching my travel blog and captivating the imaginations of my readers worldwide.


+ There are no comments
Add yours